





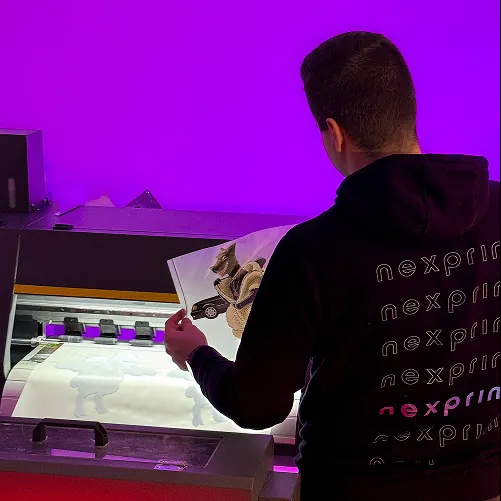
How to prepare
the graphics?
Send us your graphic as PDF, AI, EPS, TIFF, PNG or PSD (up to 1 GB). Vector is preferred; bitmaps at 300–360 dpi.
Upload the file in the order form and we automatically prepare a print preview in real printed colours plus a white-layer check — you see any issues before you order.
We have prepared detailed instructions on how to prepare your graphic before submitting it. Does it sound too difficult? Don't worry, we'll prepare it for you for a small fee.
Graphics dimensions
Maximum width
565 mm
Maximum length
3 m
One page can be up to 3 m long — for longer prints use a multi-page PDF
Graphics colors
- CMYK is not required — RGB files are fine too. Out-of-gamut colours are adjusted automatically; vivid RGB tones (neons, bright blues, greens) will print noticeably more muted.
- You will see the result yourself: after uploading, wait for the Print preview in the order form — it shows the exact colours we will print. If the preview differs visibly from your original, so will the print.
- Set the white to 0% CMYK
- Beware of colour distortion from an uncalibrated display
We soft proof automatically for you — the Print preview in the order form already uses our printer's colour profile. If you want to check the colours yourself in Adobe Photoshop before uploading (including the out-of-gamut warning the preview does not show), use this guide:
- 1. Download the ICC profile from the link below
- 2. Install the ICC profile — right-click the ICC file and select Install Profile (on Windows) or copy it to ~/Library/ColorSync/Profiles/ (on macOS)
- 3. Open the graphic in Photoshop
- 4. Go to View → Proof Setup → Custom
- 5. Select the installed ICC profile for your printer (Nexprim DTF)
- 6. Set the rendering intent to Relative Colorimetric
- 7. Enable Black Point Compensation
- 8. Press OK
- 9. Toggle View → Proof Colors to see the effect, or toggle with CTRL+Y

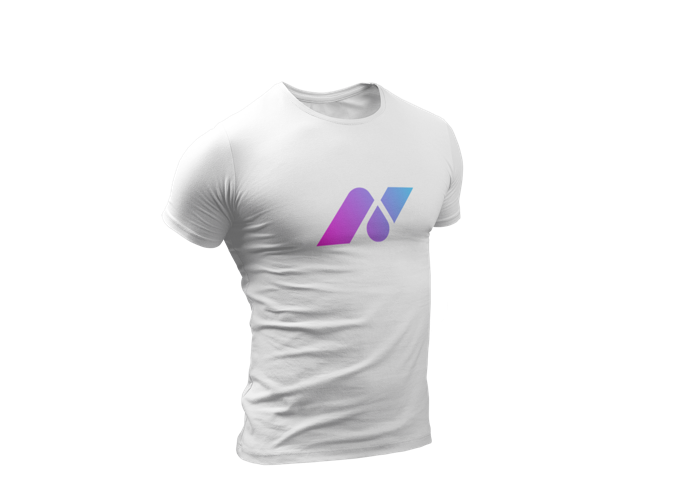
The graphic exactly as you uploaded it

Real printed colours — notice the colour shift

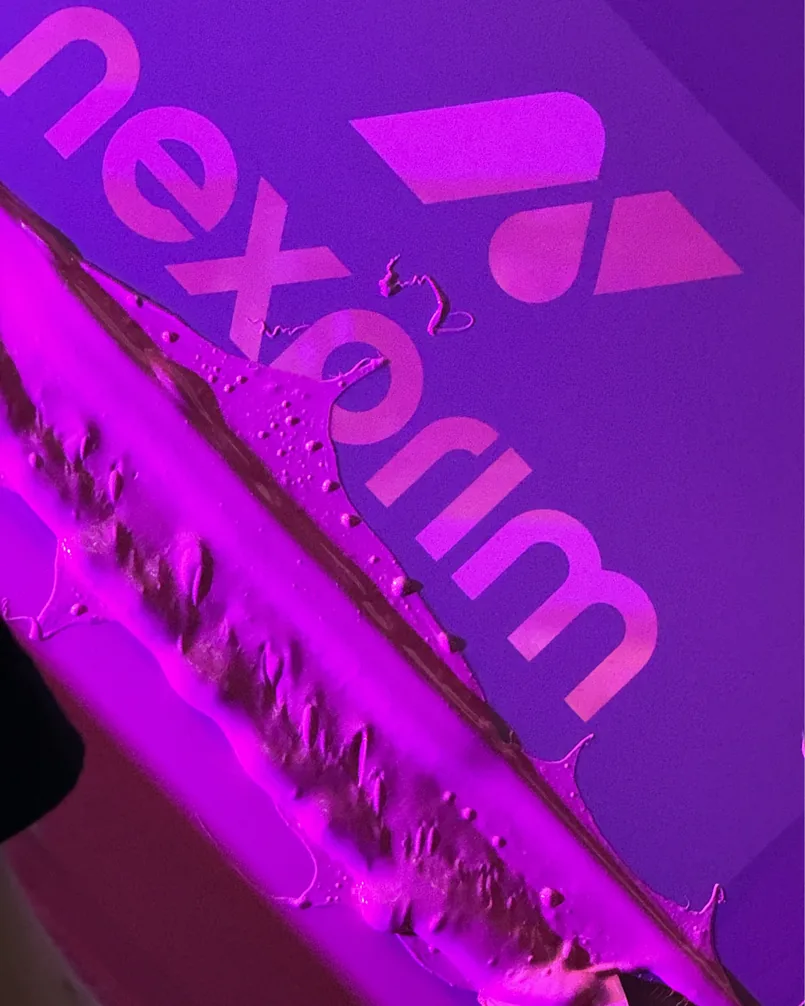
Magenta shows where the white backing layer and adhesive will be
Graphic Details
- The thinnest line must be at least 0.50 mm
- Avoid lines that go to zero thickness
If the line goes to zero thickness, it will not be possible to underlay the whole line with a white layer and it will be “torn off”.

Incorrect line
Line tip with 0 mm thickness

The correct line
The tip of the line is rounded, terminating at a thickness of 0.40 mm
- If your graphic contains bitmap elements, they must be embedded without anti-aliasing
- You can verify all of this yourself in the order form — every page has a zoomable preview, and the Spot check toggle shows the white backing layer
If you want your graphics printed “faded”, please contact us in advance and we will advise you how to proceed and what DTF makes possible.
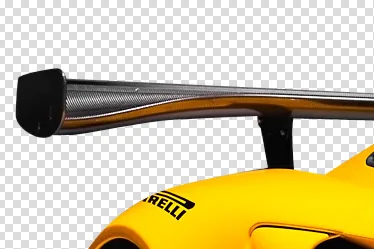
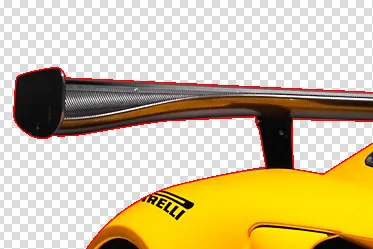
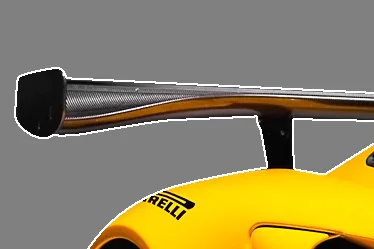
Export
- One page can be up to 3 m long — for longer prints use a multi-page PDF
- Check that the total width of the file does not exceed 565 mm
- Export the graphics without background
- Export bitmaps at 300–360 dpi — not less (soft print), not more (huge file with no gain)
- For graphics that contain bitmap graphics, you must disable anti-aliasing
- We prefer graphics sent in vector format (less data)
- Files up to 1 GB upload directly in the order form — no need to zip anything
- If the same motif repeats, upload it once and set the number of copies per file or per page directly in the order form (this reduces the data volume)
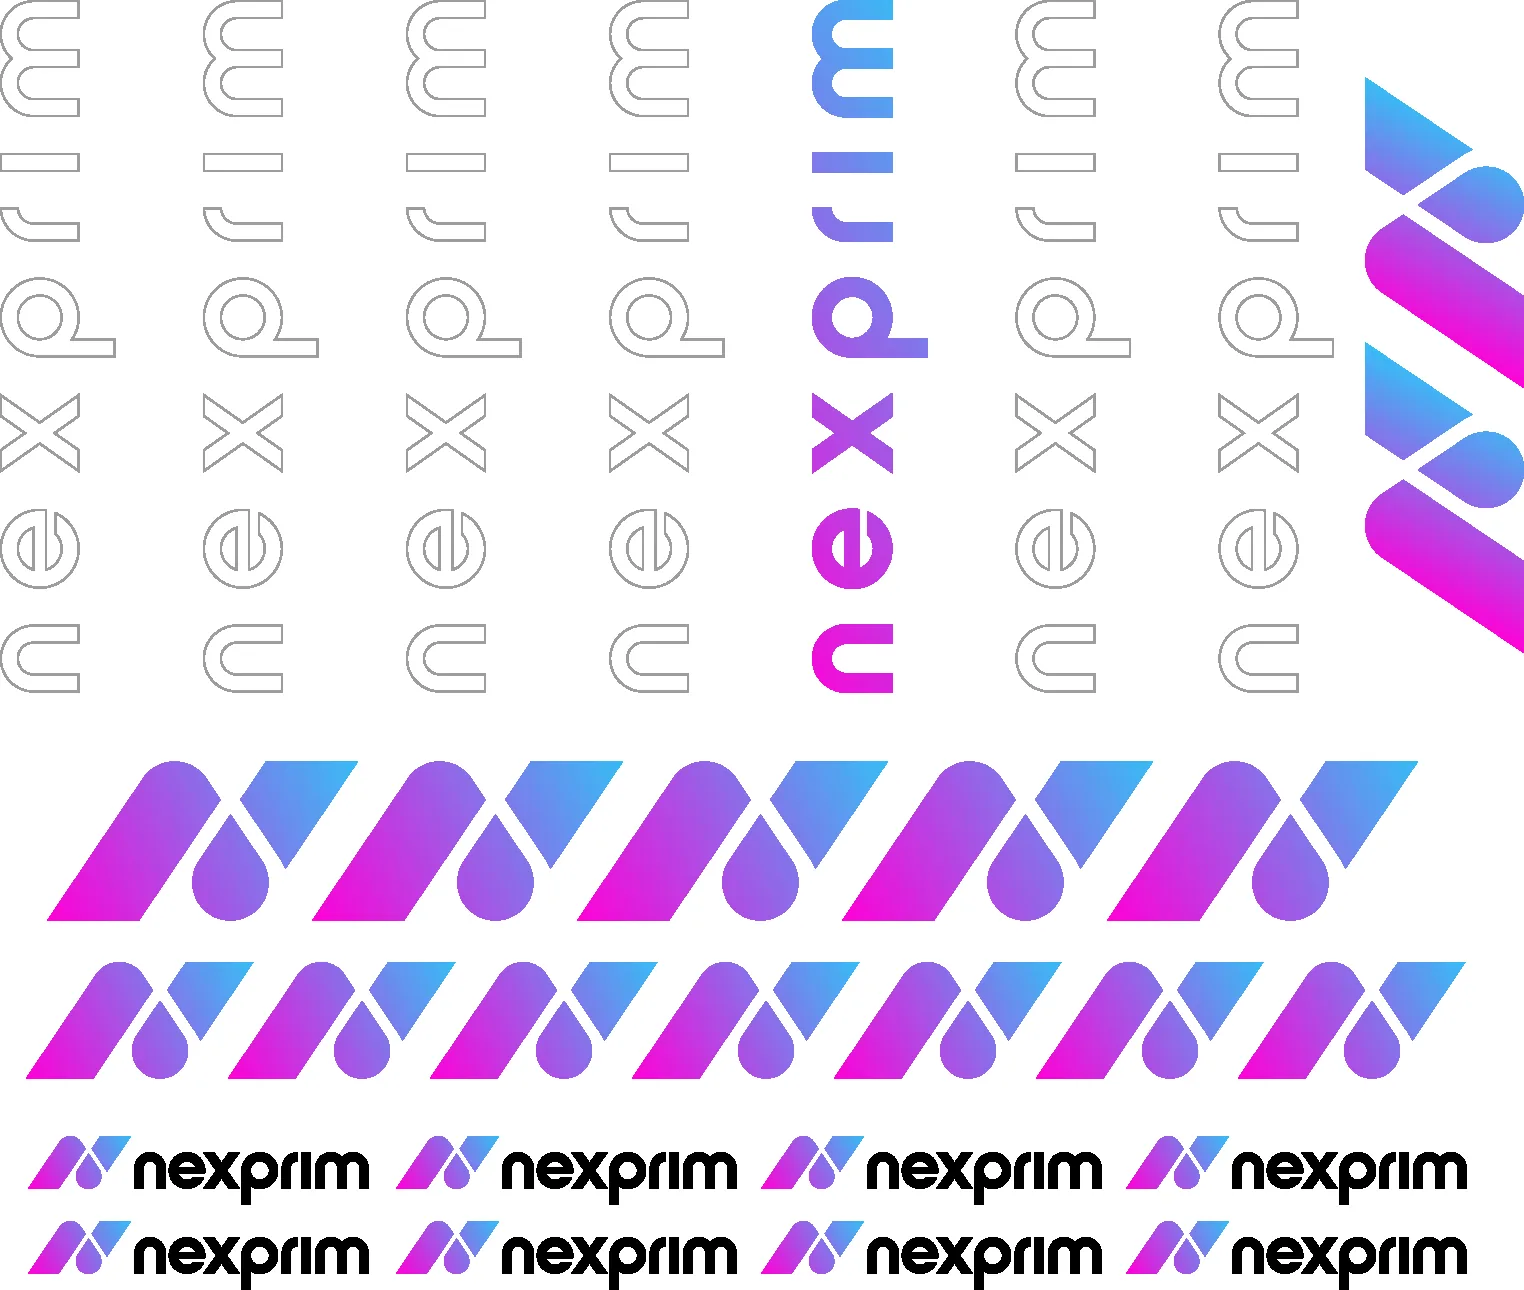
(56 cm x 46 cm)
(56 cm x 138 cm)
The final check: upload the file in the order form and review the Print and Spot check previews — that is exactly what will go to print.